Login with Google
Kardow supports Sign in with Google and Google’s pre-built One Tap button. Google Oauth is one of the most popular login method because it is pre-filled and simple to use for your users.
Prerequisites
You need to do some setup to get started with Sign in with Google:
- Prepare a Google Cloud project. Go to the Google Cloud Platform and create a new project if necessary.
- Use the Google Auth Platform console to register and set up your application’s:
- Audience by configuring which Google users are allowed to sign in to your application.
- Data Access (Scopes) define what your application can do with your user’s Google data and APIs, such as access profile information or more.
Create OAuth credentials in Google Cloud
1. Go to Google Cloud Console
Visit Google Cloud Console and sign in with your Google account.
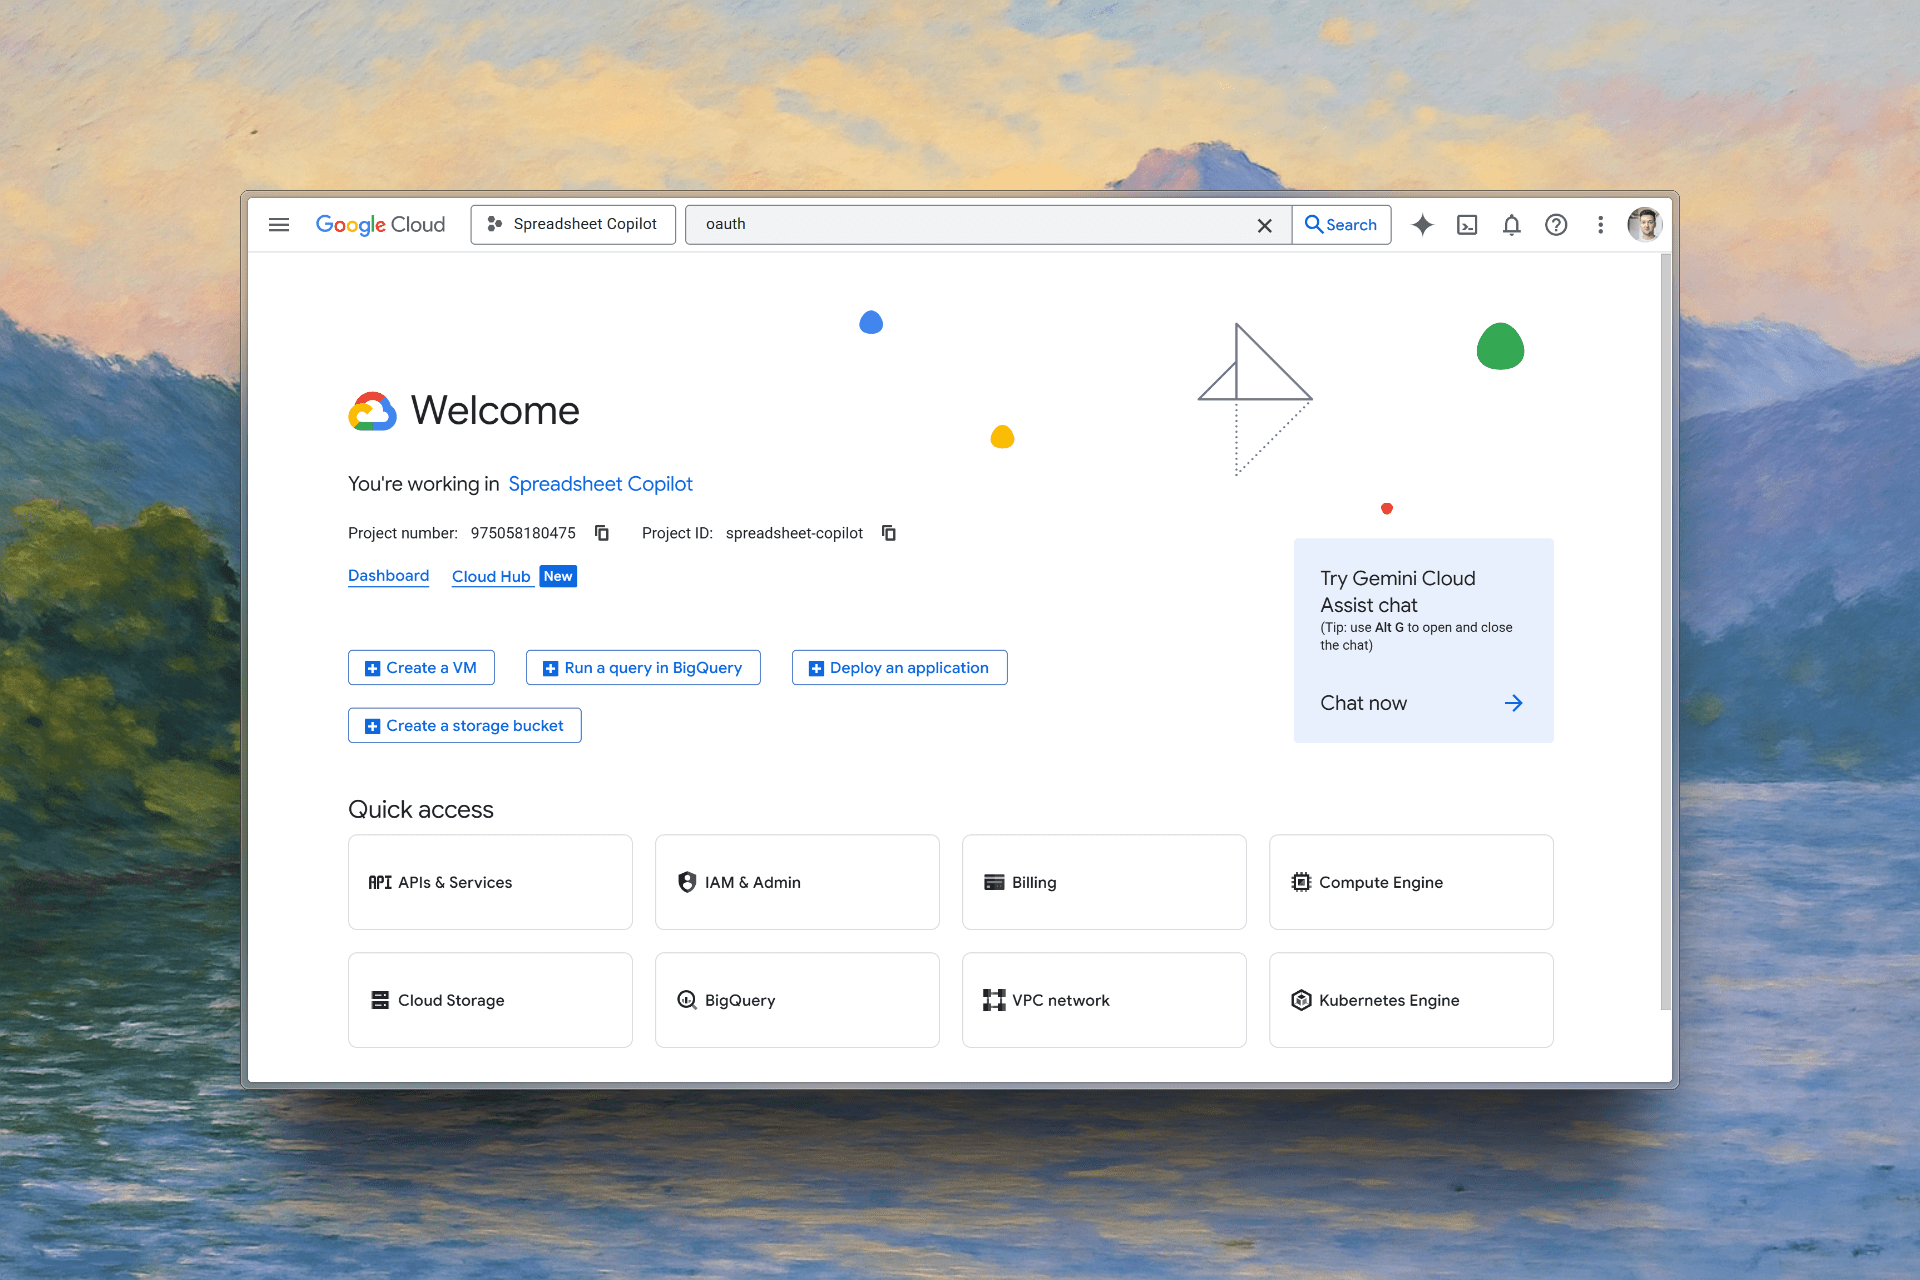
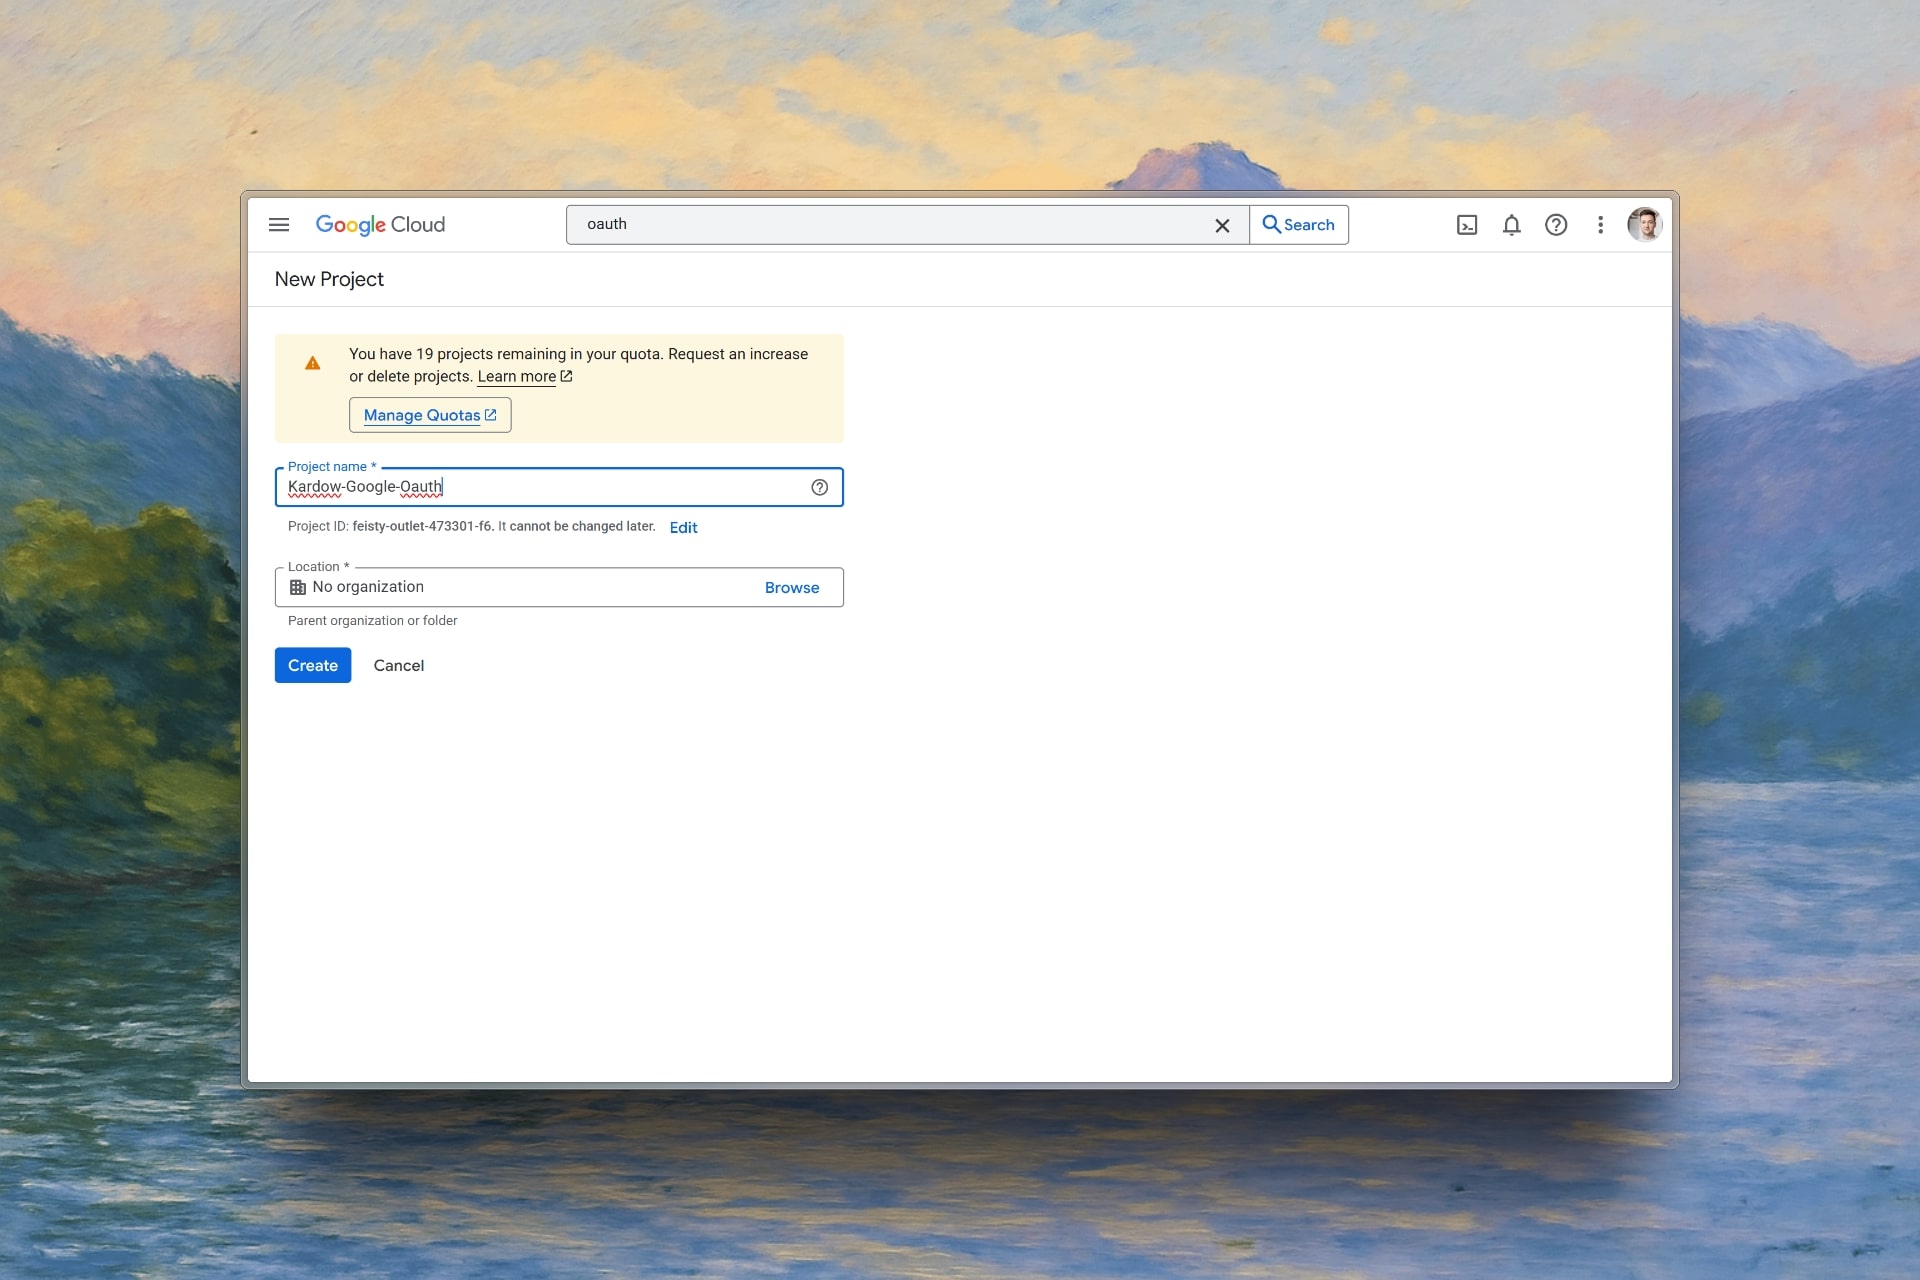
2. Create or select a project
If you don’t have a project, create one. Otherwise, select your existing project from the dropdown.
3. Enable Google OAuth API
Go to “APIs & Services” and select “Credentials”. You might have to pick your project in the list.
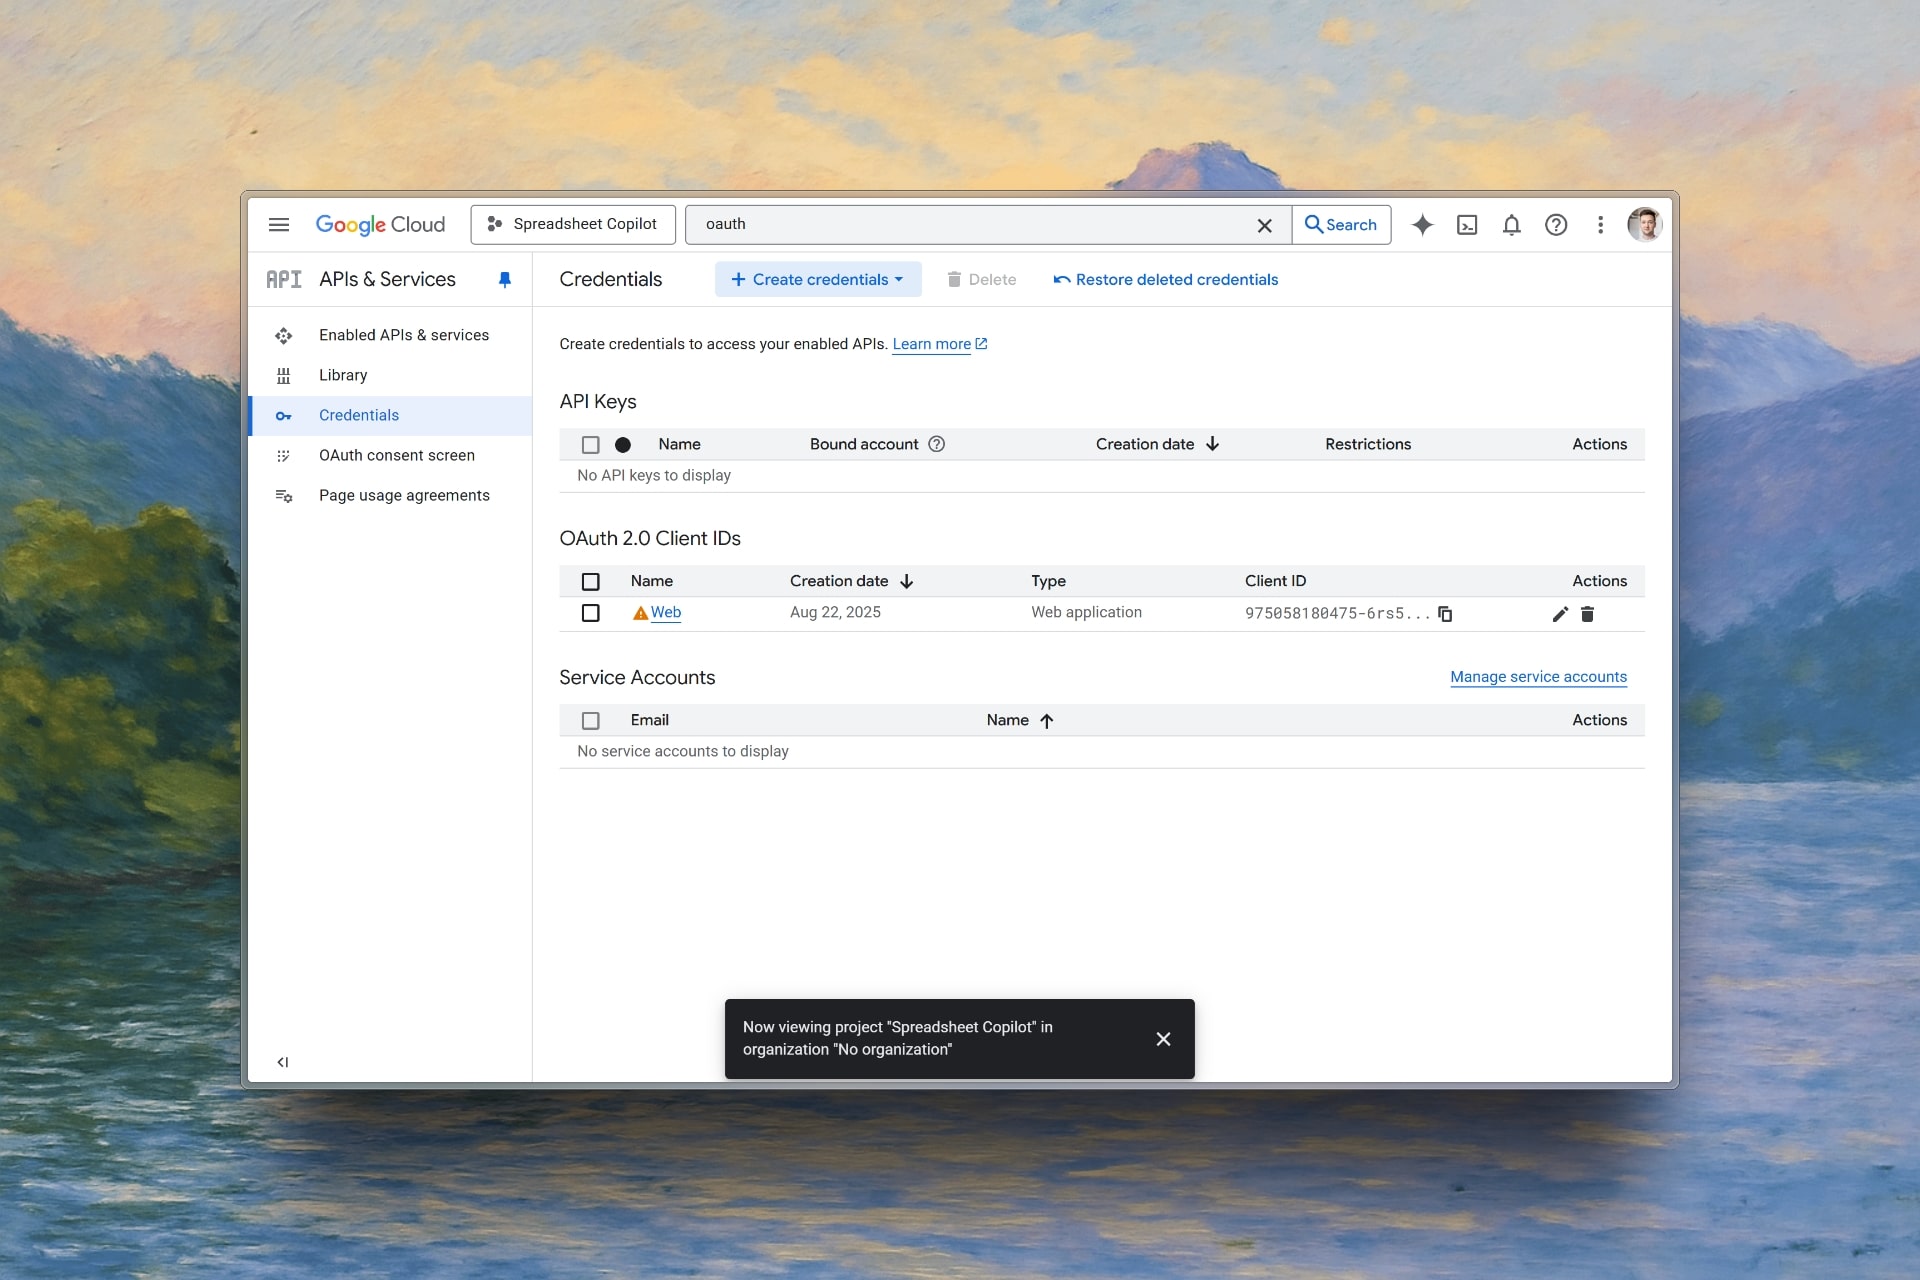
4. Create OAuth credentials (OAuth client ID - in the dropdown)
- Click on “Create credentials”
- Select “OAuth client ID”
- Select “Web application”
- Add your domain. (If you have a custom domain, you need to add it)
- Add your redirect URI (it’s your custom domain with /oauth/google/callback) - ex: https://your-job-board-name.com/oauth/google/callback
- Click “Create”
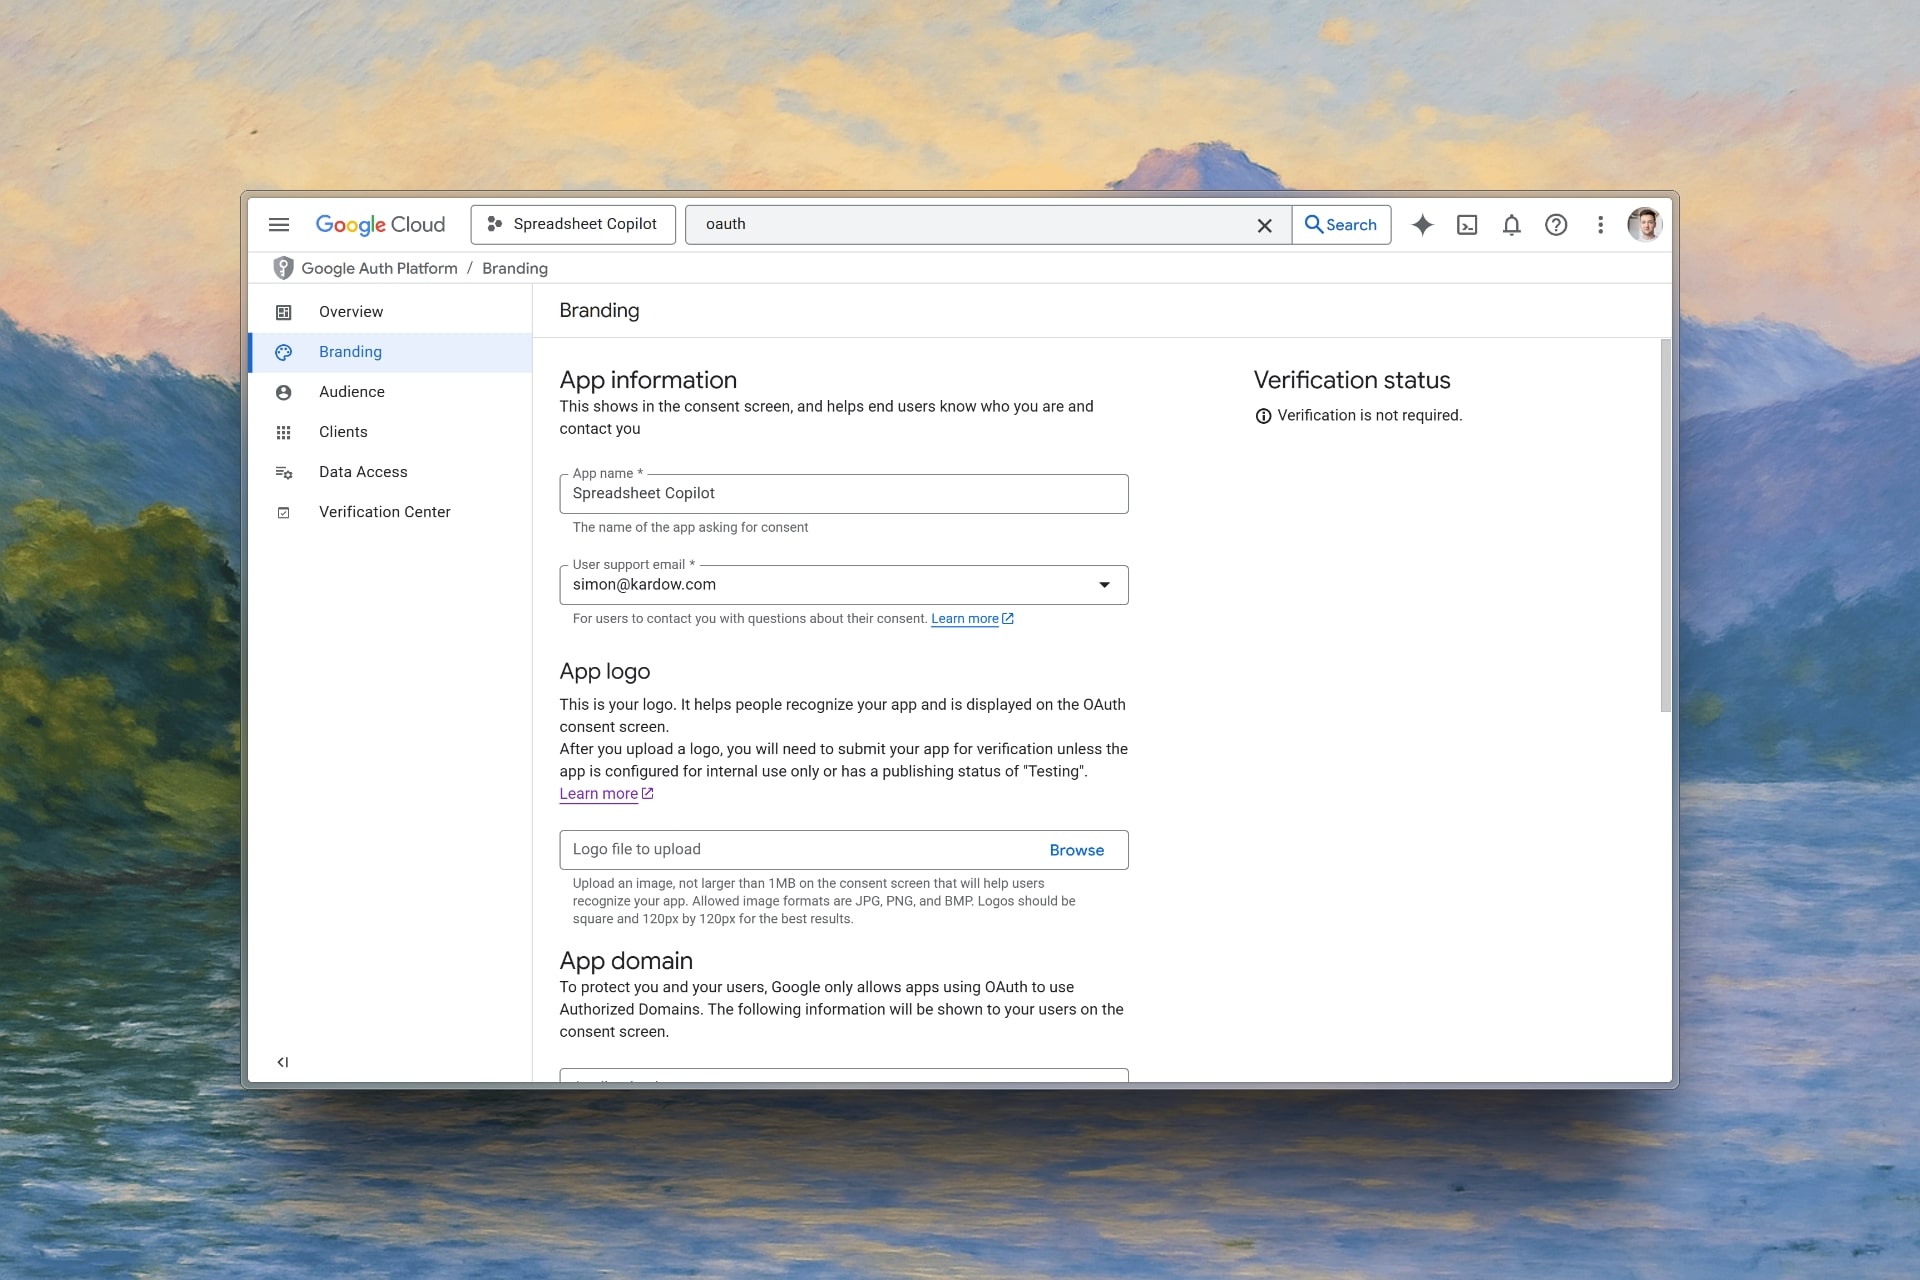
5. Configure OAuth consent screen (Optional - if you want to display more info in your consent screen)
- Go to “OAuth consent screen” -> “Branding”
- Fill in your app name and user support email
- Add your Application home page, privacy policy and terms of service.
- Add your domain in “Authorized domains”
- Save the configuration
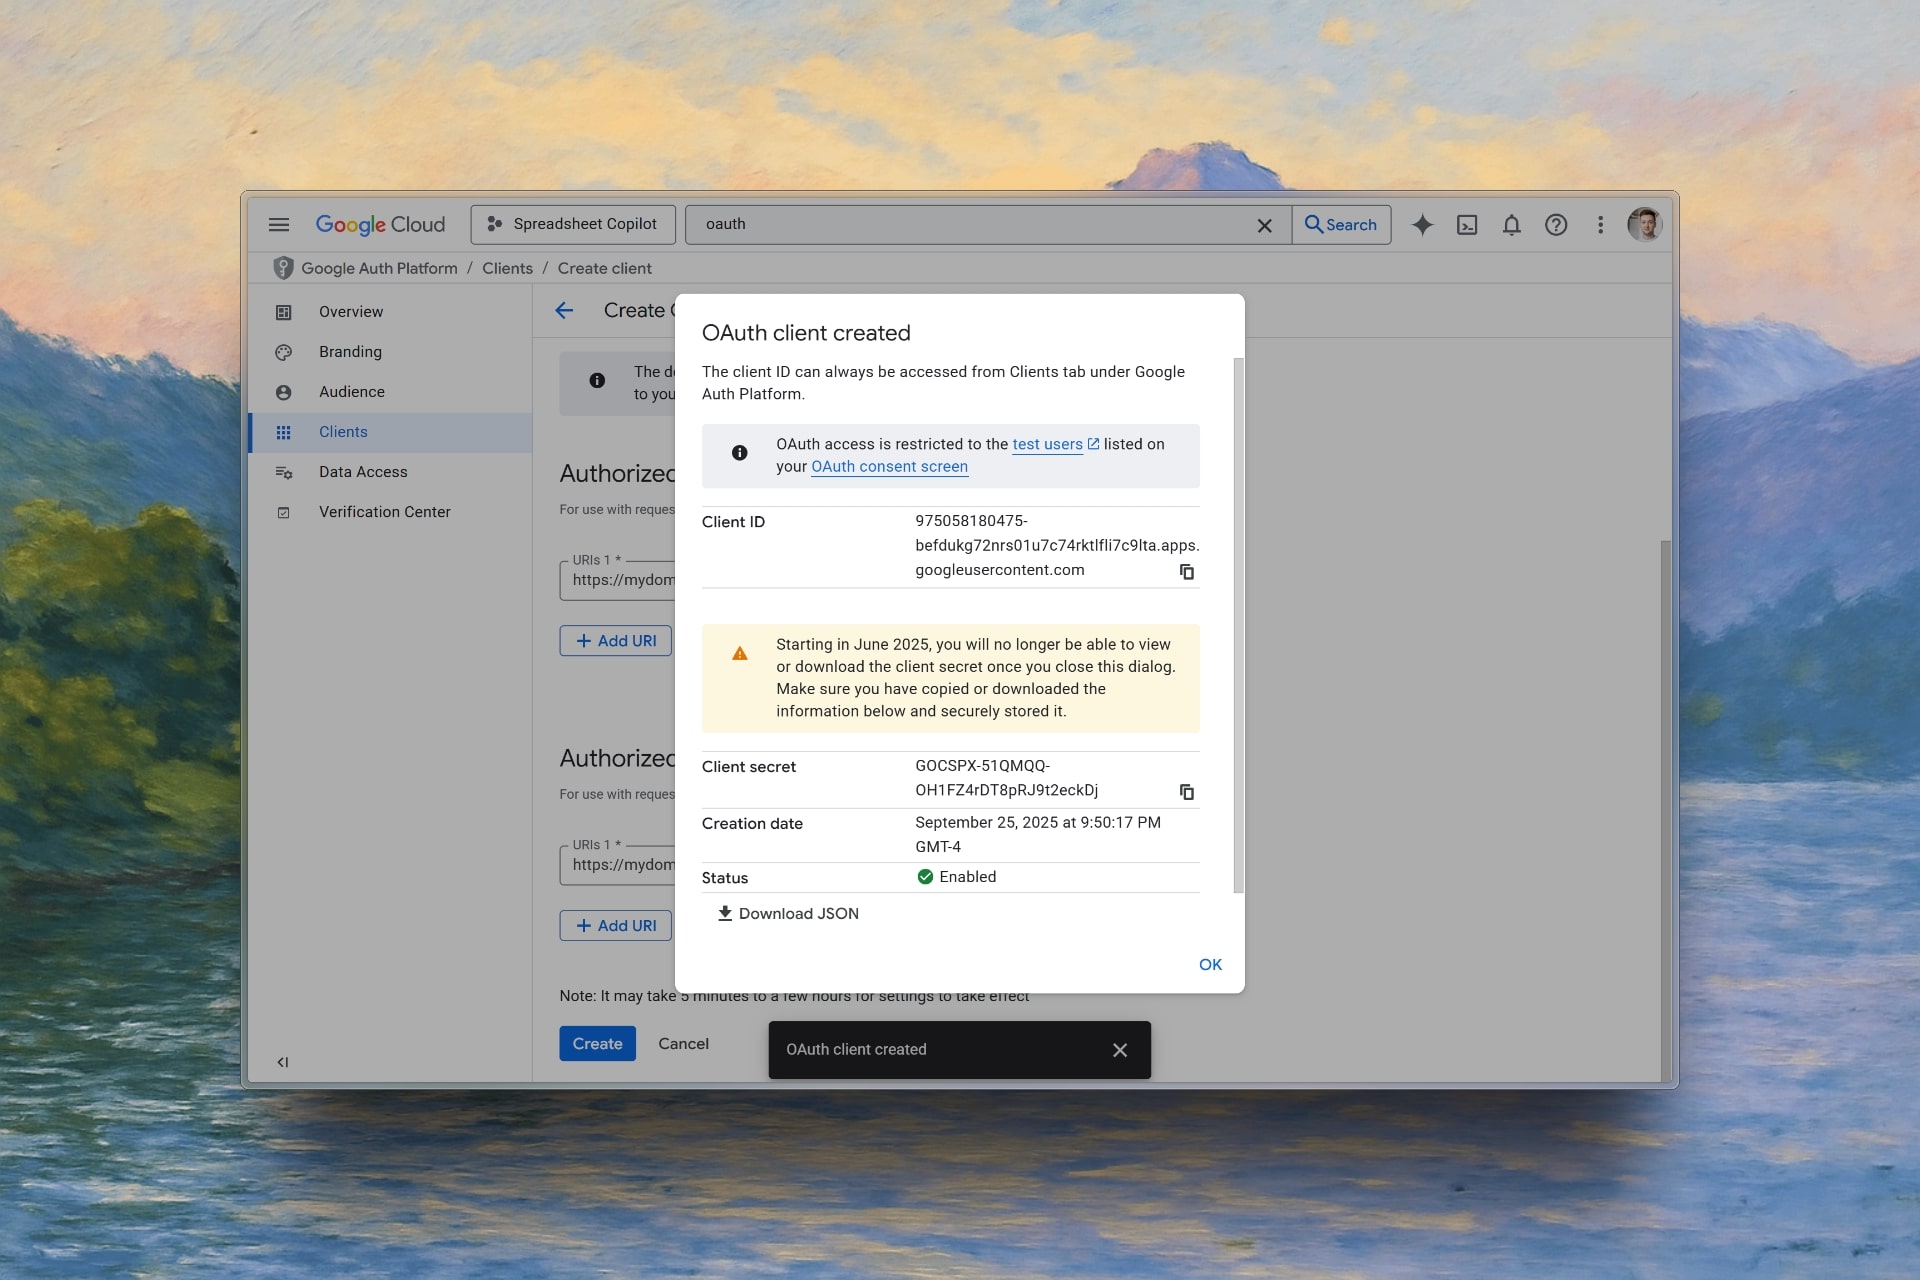
6. Copy your credentials
Save your Client ID and Client Secret - you’ll need these for Kardow.
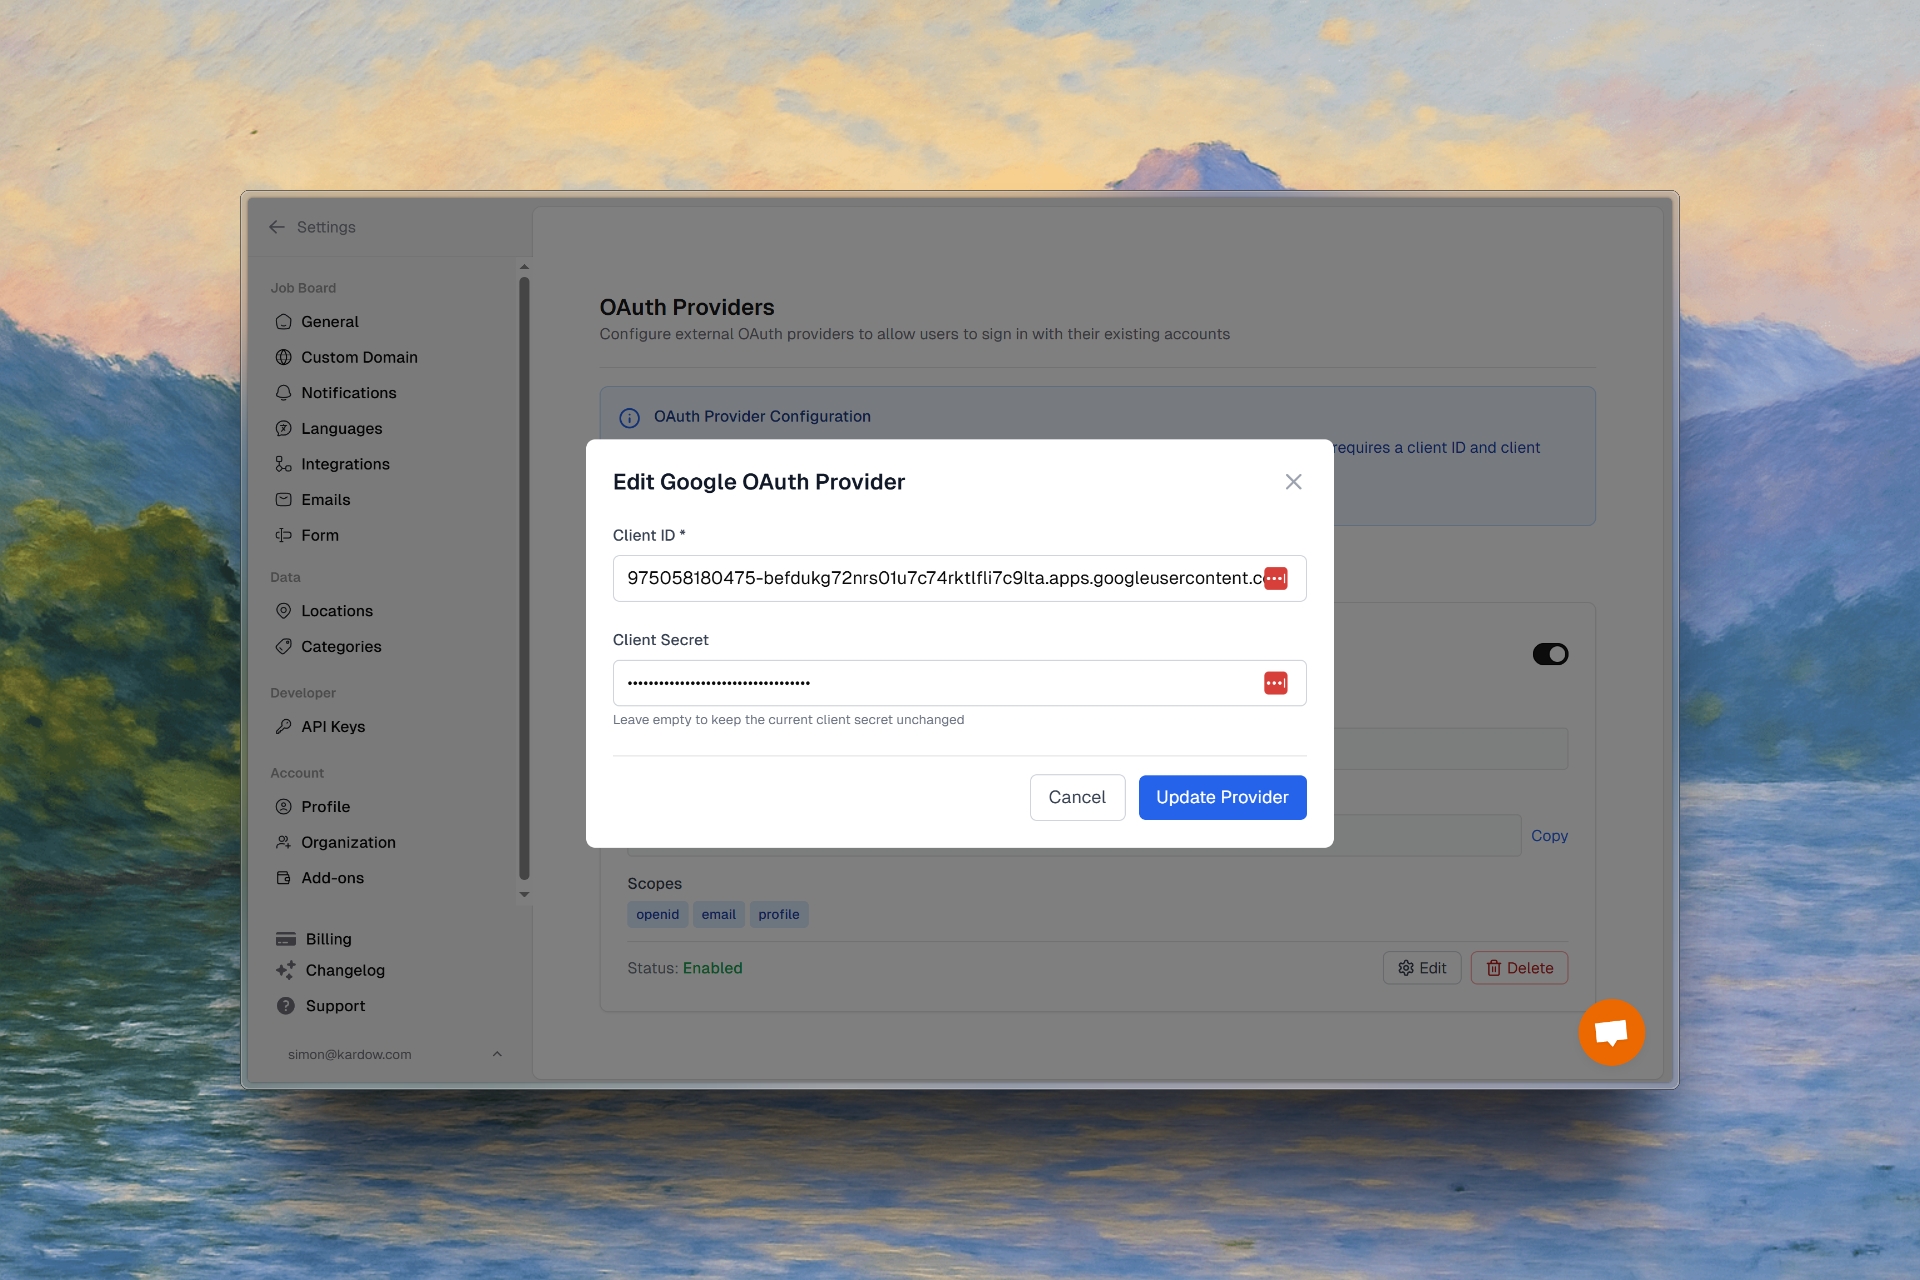
Configure Google OAuth in Kardow
1. Open OAuth settings
In your Kardow dashboard, go to Settings —> OAuth.
2. Enable Google OAuth
- Toggle on “Google OAuth”
- Paste your Client ID from Google Cloud
- Paste your Client Secret from Google Cloud
- Save settings
Enable Google One Tap (Optional)
Google One Tap provides a seamless sign-in experience with a popup instead of redirecting users.
You don’t need any extra setup for One Tap, it can be enabled instantly by using the toggle in Kardow.
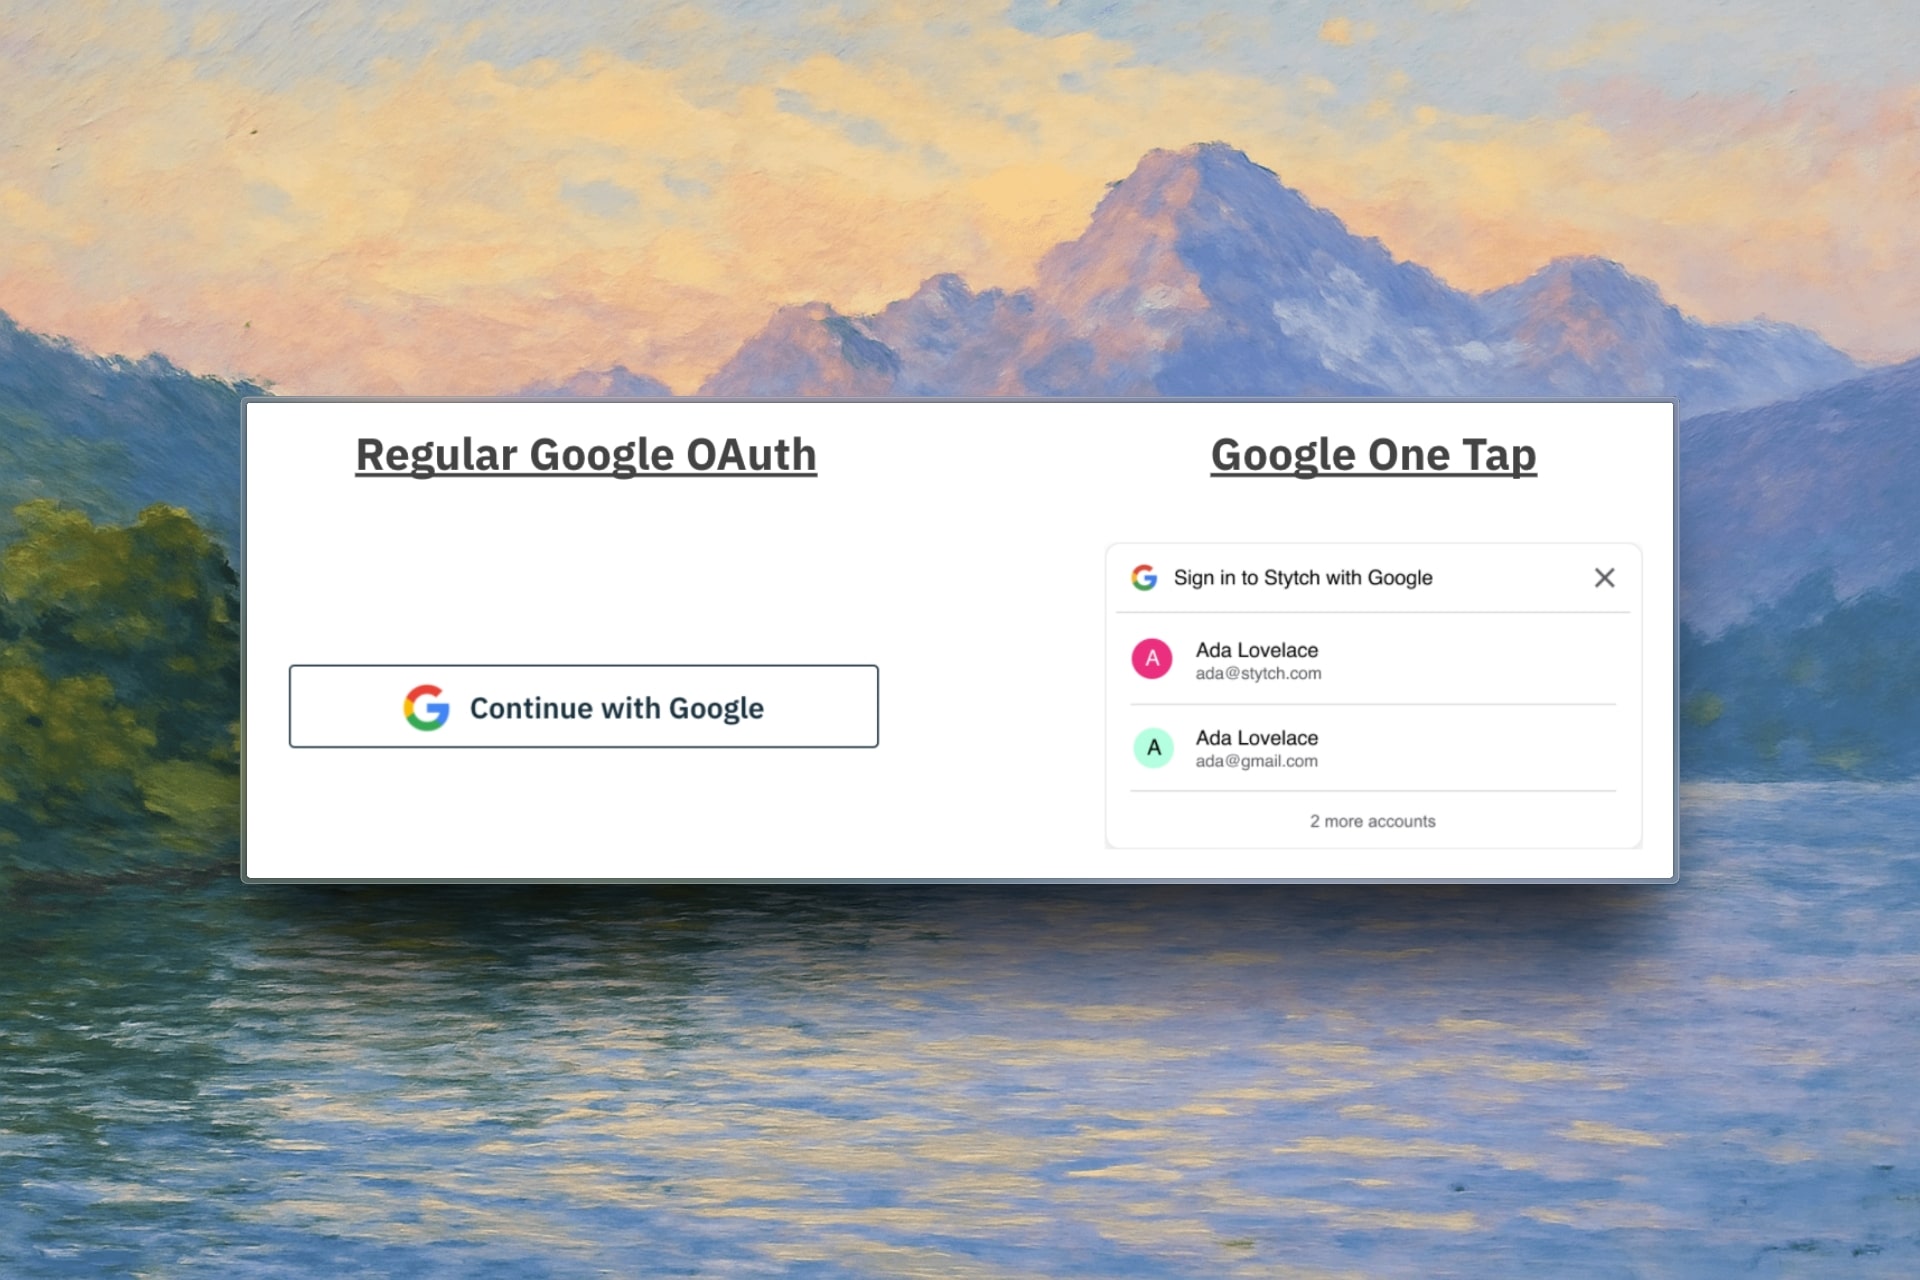
In Kardow settings:
- Toggle on “Enable Google One Tap”
- This works alongside regular Google OAuth
- Users will see a popup to sign in with Google
Test your setup
- Go to your job board
- Click the “Sign in with Google” button
- Complete the Google sign-in flow
- Verify you’re logged into your job board
Your users can now sign in quickly with their Google accounts, making your job board more accessible to job seekers and employers.