Prerequisites
Before you begin, you’ll need to set up a Google Cloud project and configure OAuth credentials:Create OAuth Credentials in Google Cloud
1. Access Google Cloud Console
Visit the Google Cloud Console and sign in with your Google account.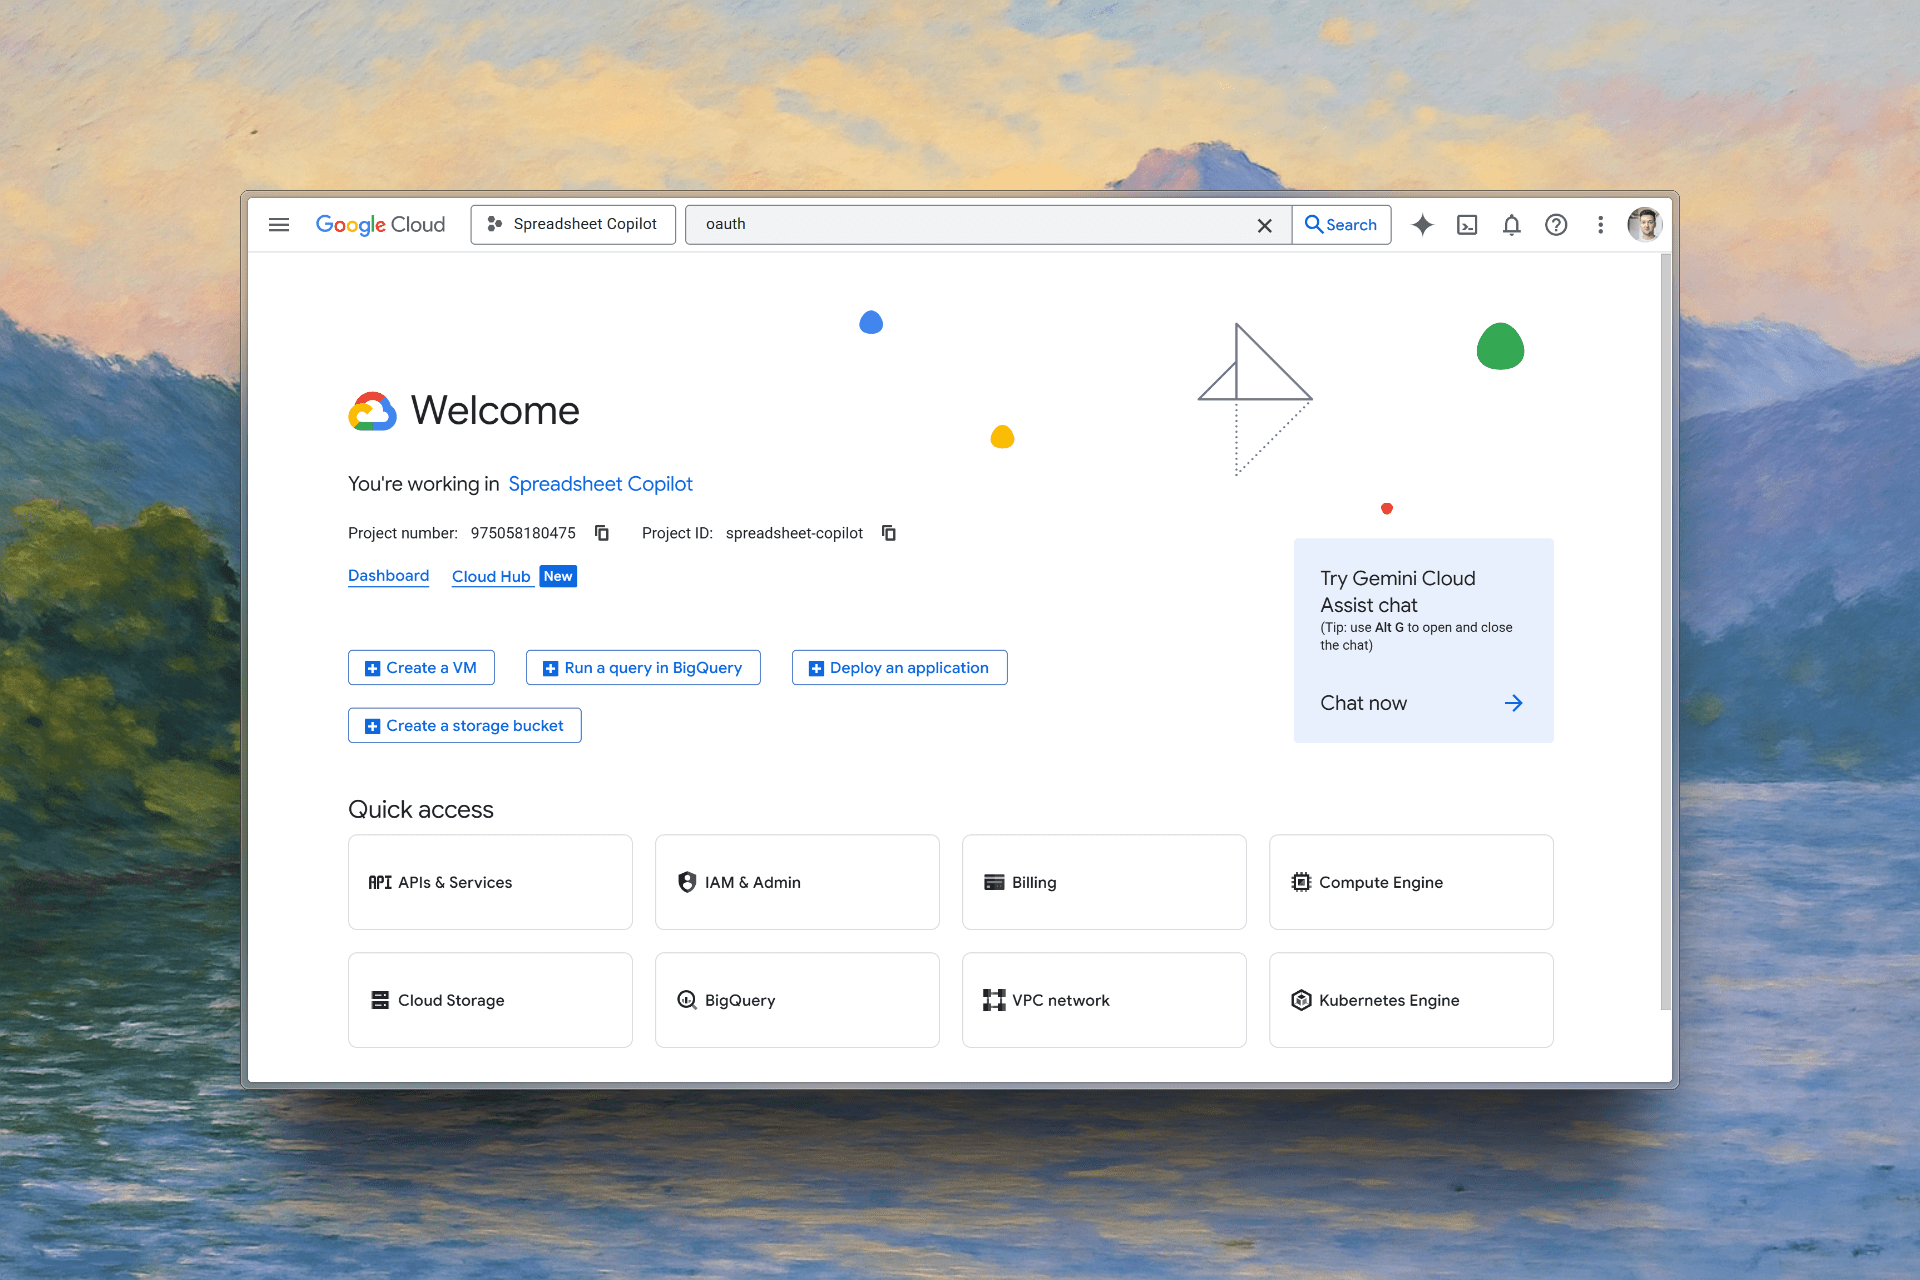
2. Create or Select a Project
If you don’t have a project yet, create a new one. Otherwise, select your existing project from the dropdown menu.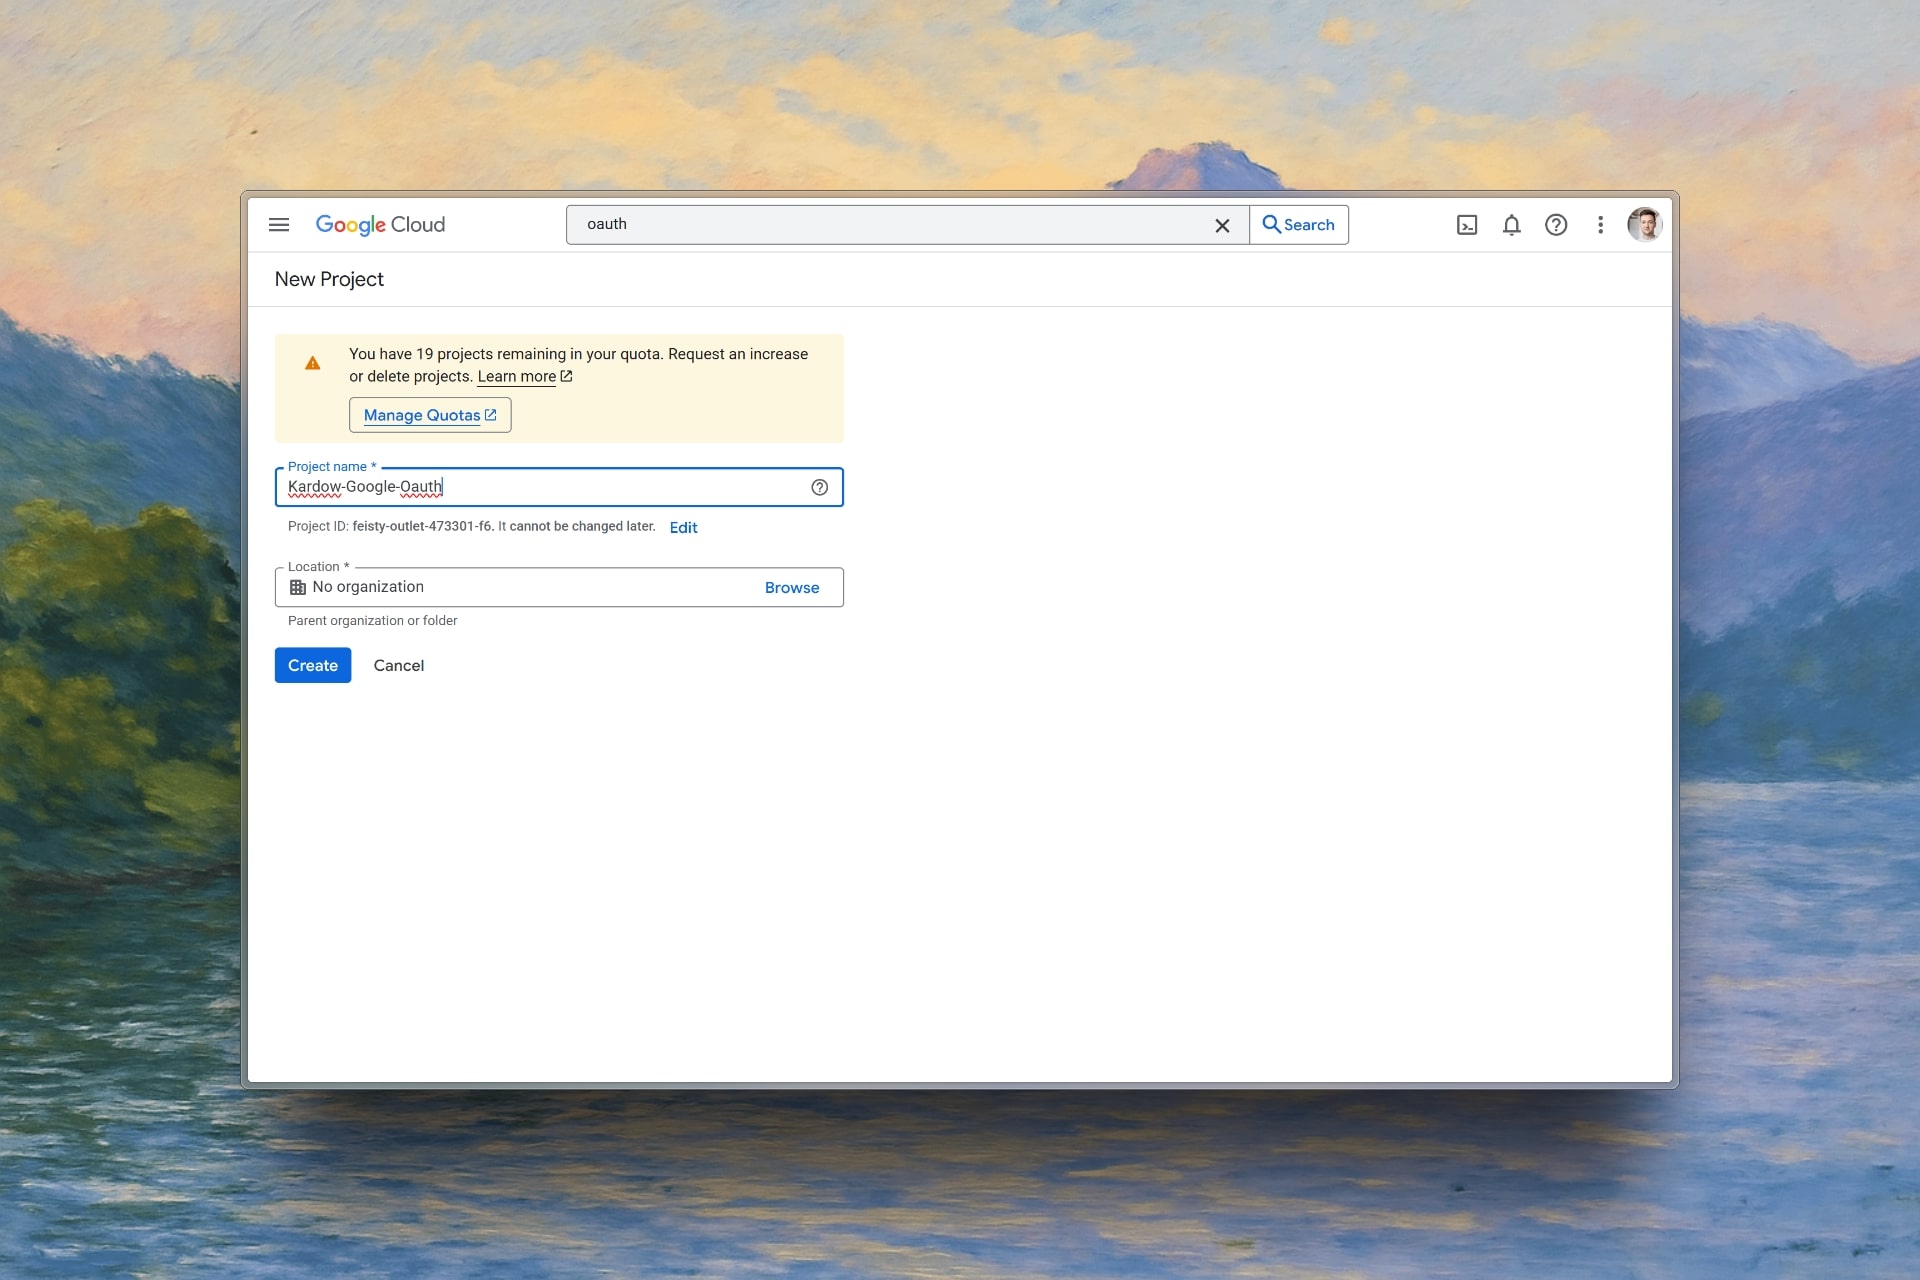
3. Enable Google OAuth API
Navigate to “APIs & Services” → “Credentials” in your Google Cloud project.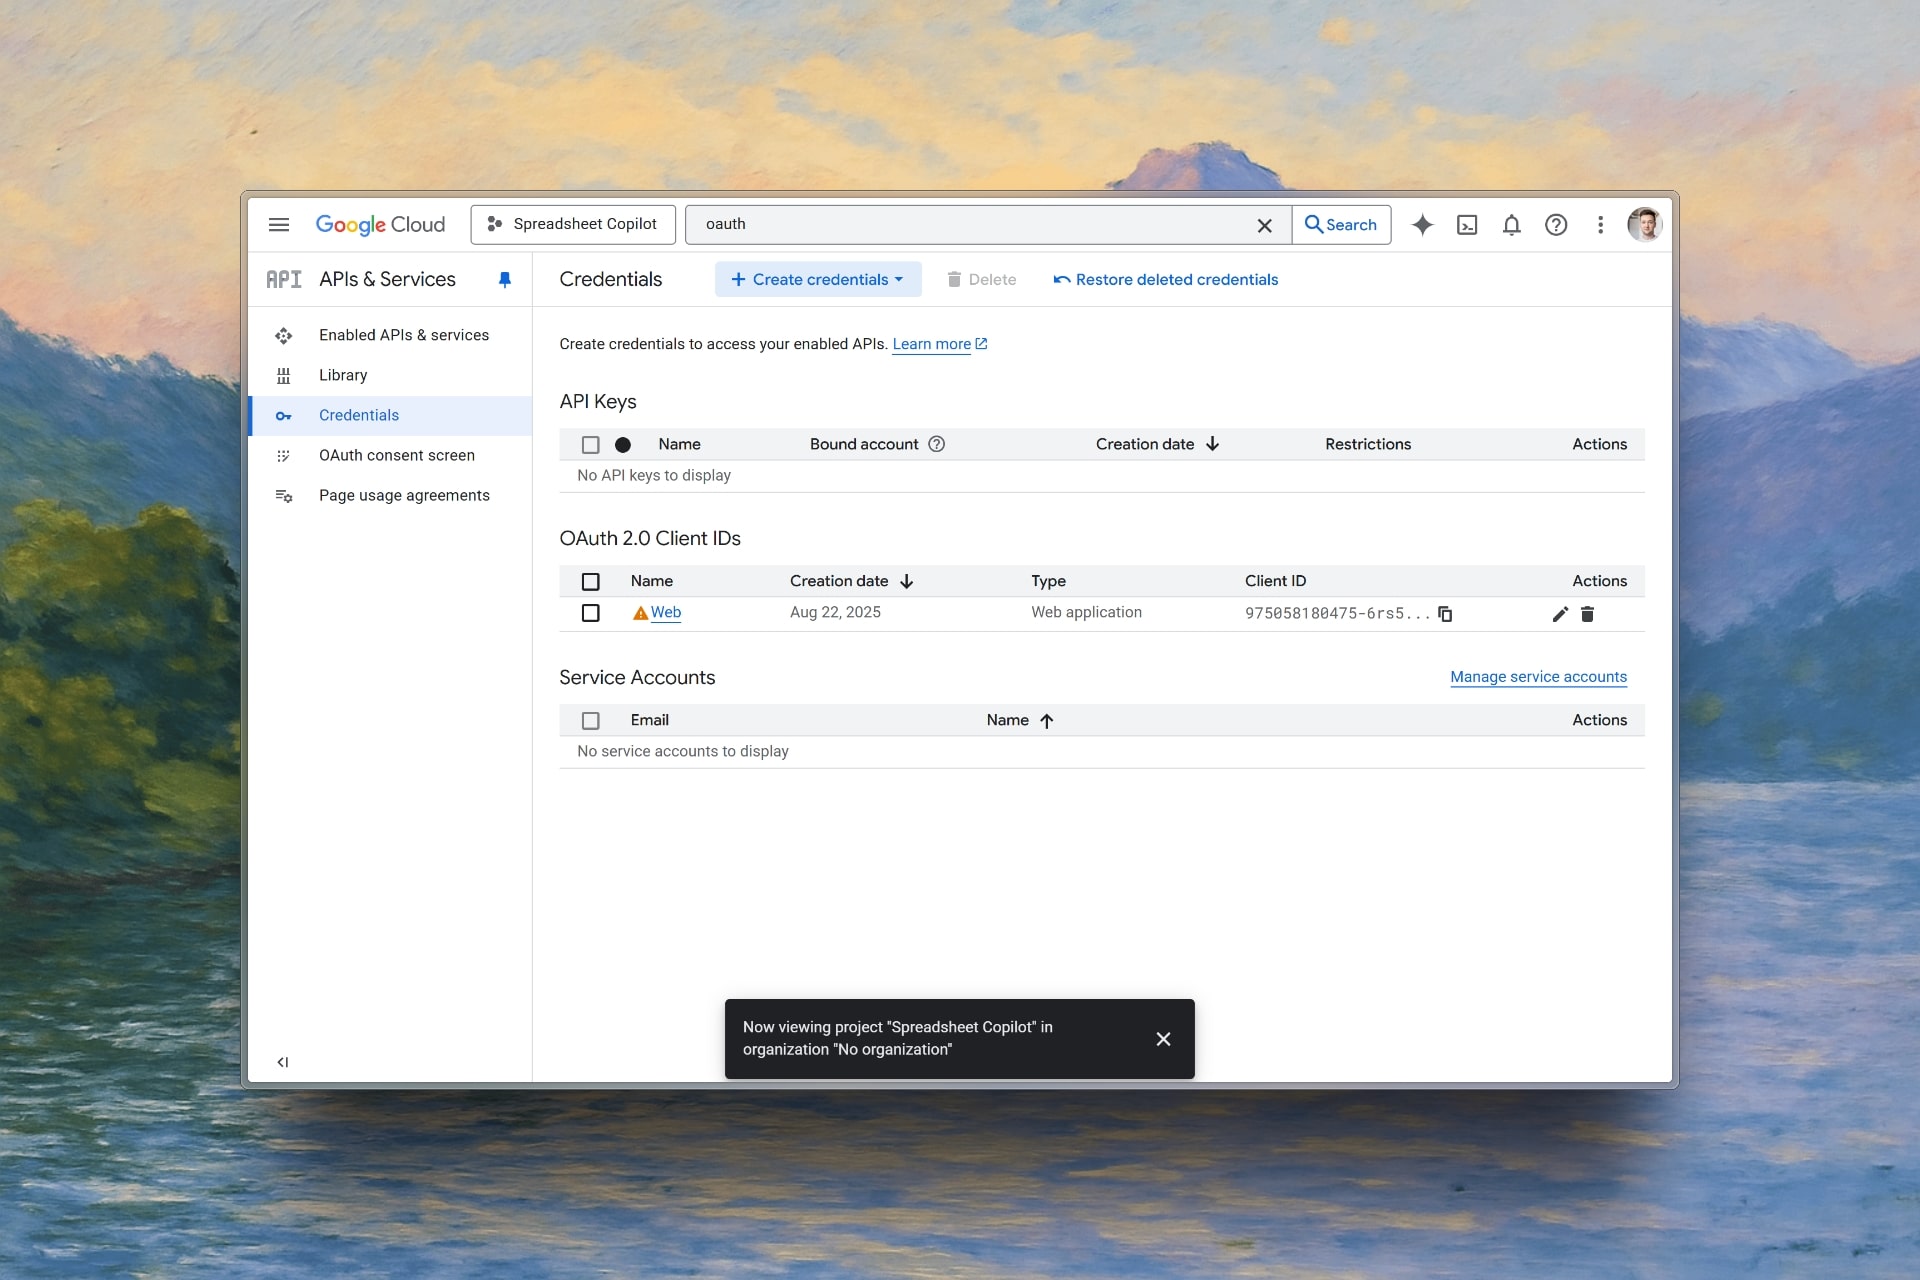
4. Create OAuth Client ID
Set Redirect URI
Add your redirect URI:
https://your-job-board-name.com/oauth/google/callbackReplace
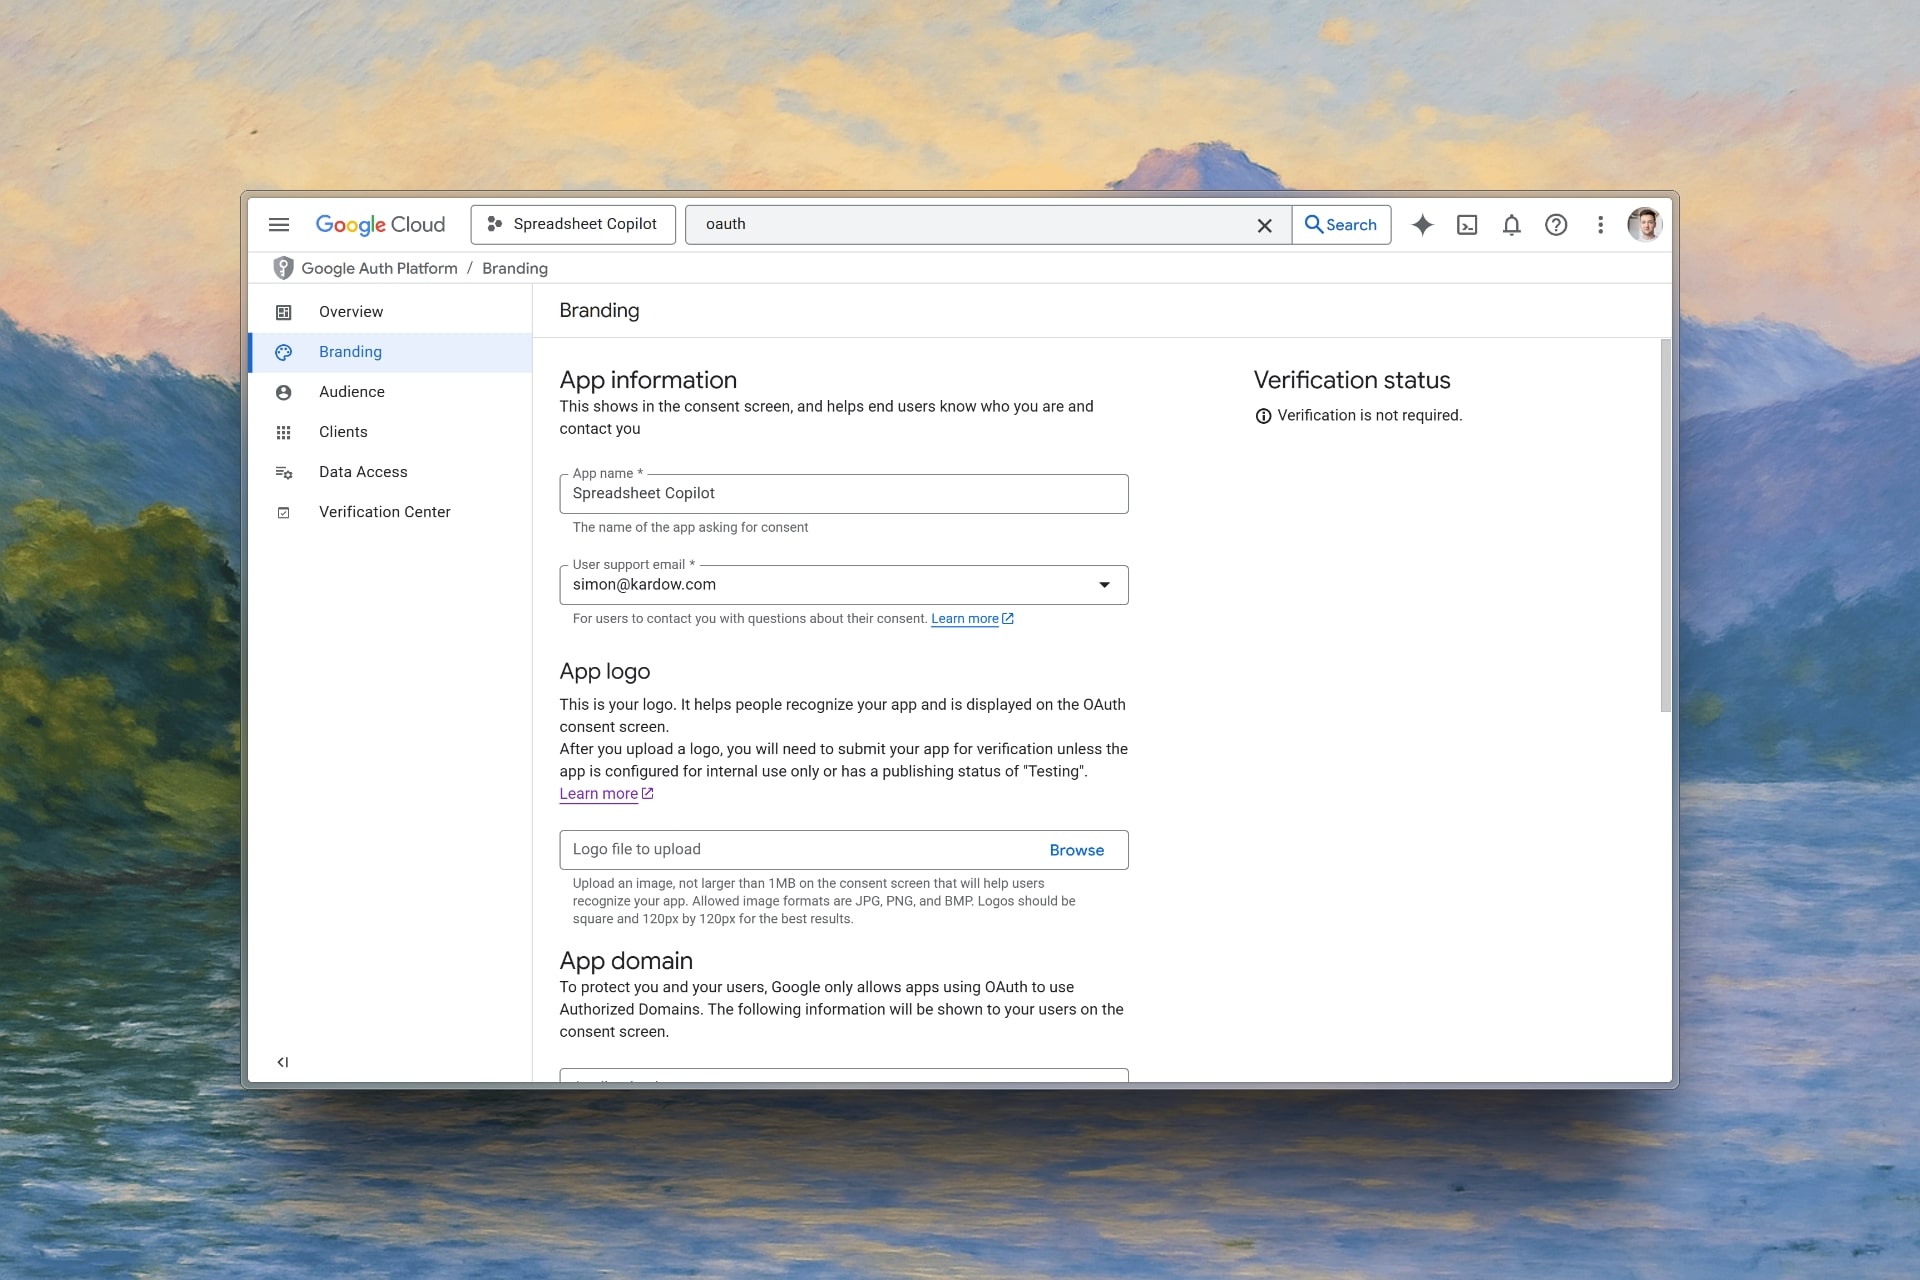
your-job-board-name.com with your actual Kardow domain.5. Configure OAuth Consent Screen (Recommended)
Fill Application Details
- App name
- User support email
- Application homepage URL
- Privacy policy URL
- Terms of service URL
6. Copy Your Credentials
Save your Client ID and Client Secret - you’ll need these for Kardow configuration.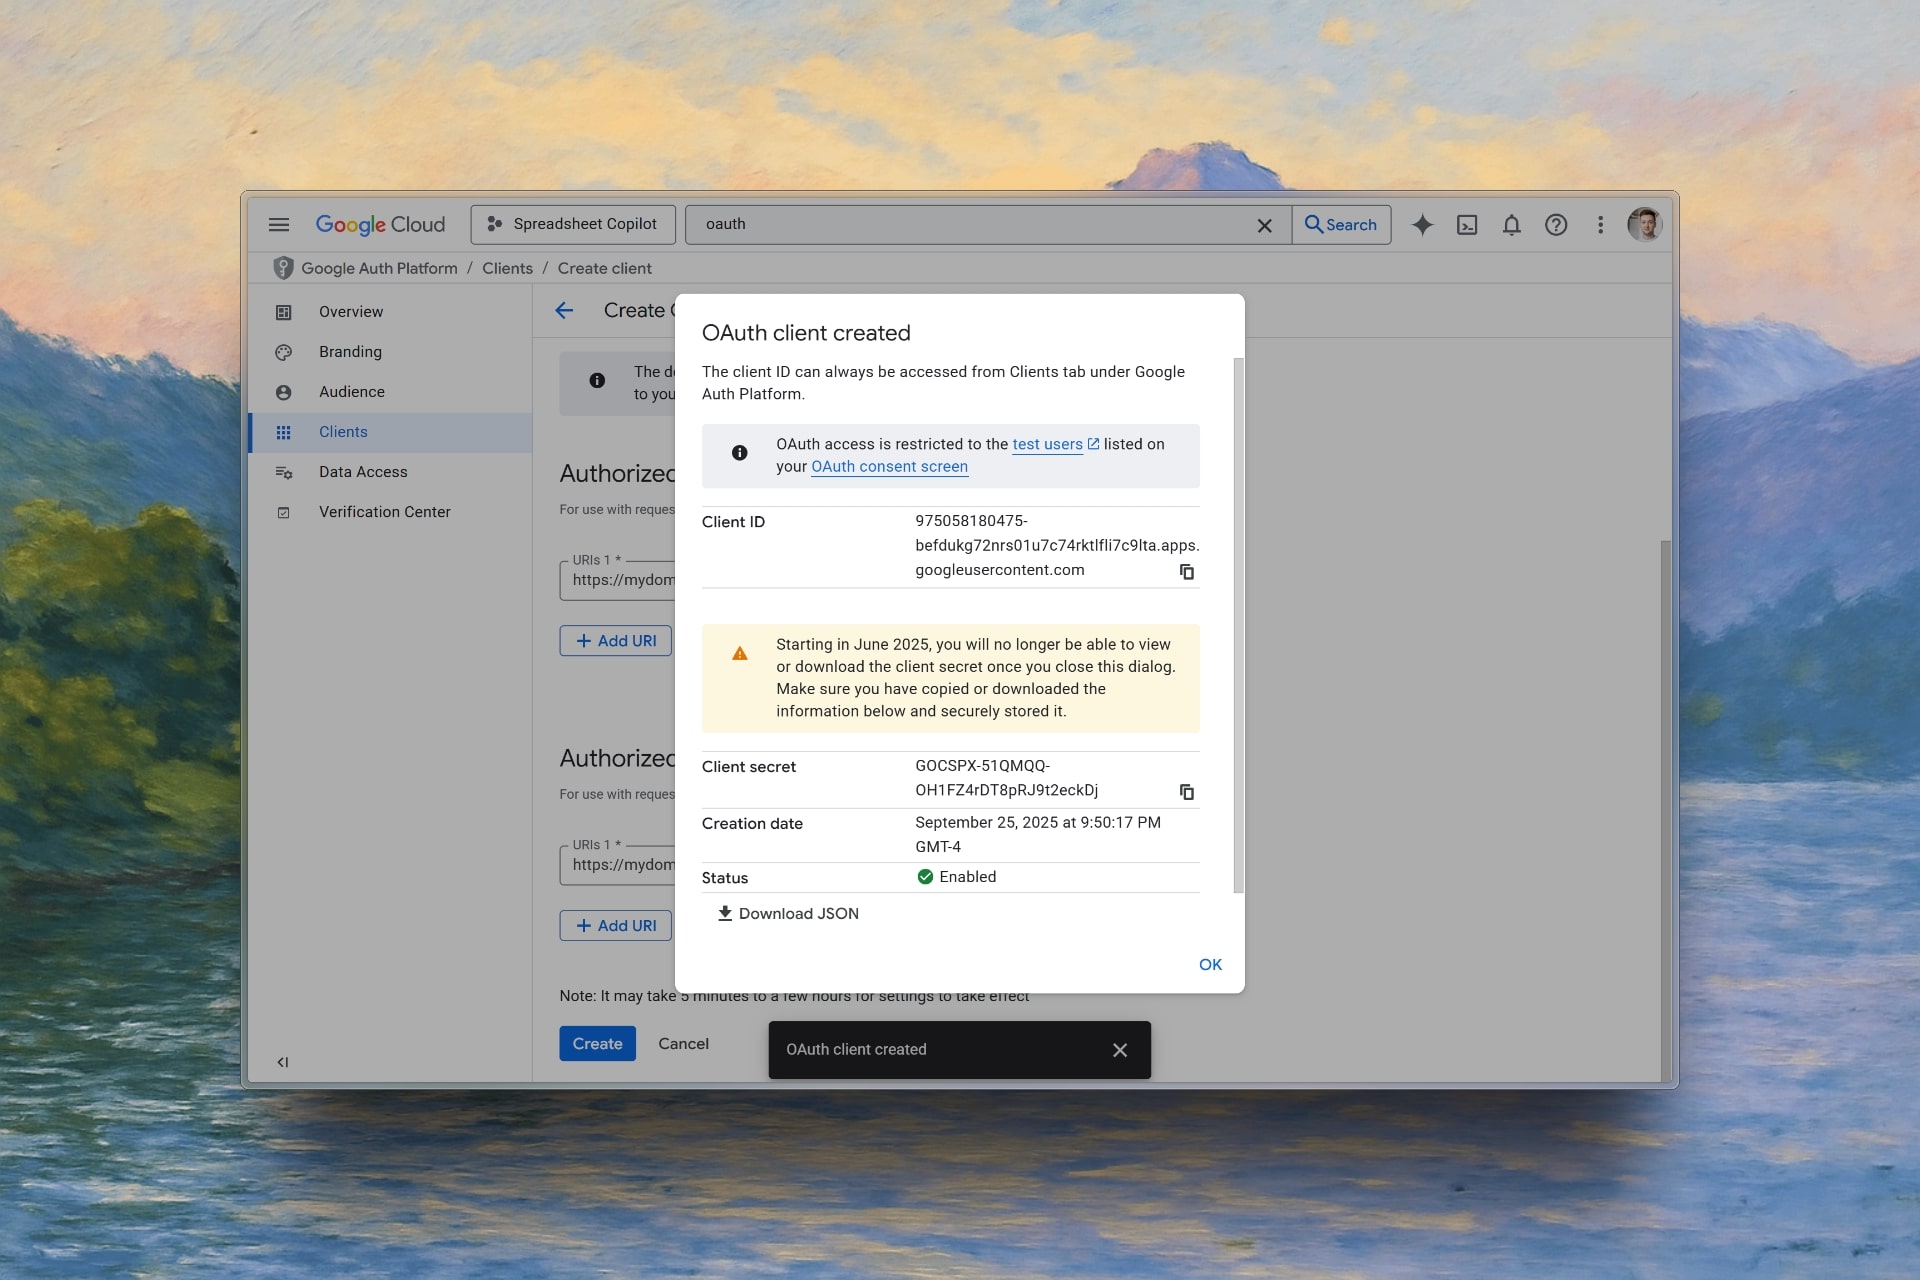
Configure Google OAuth in Kardow
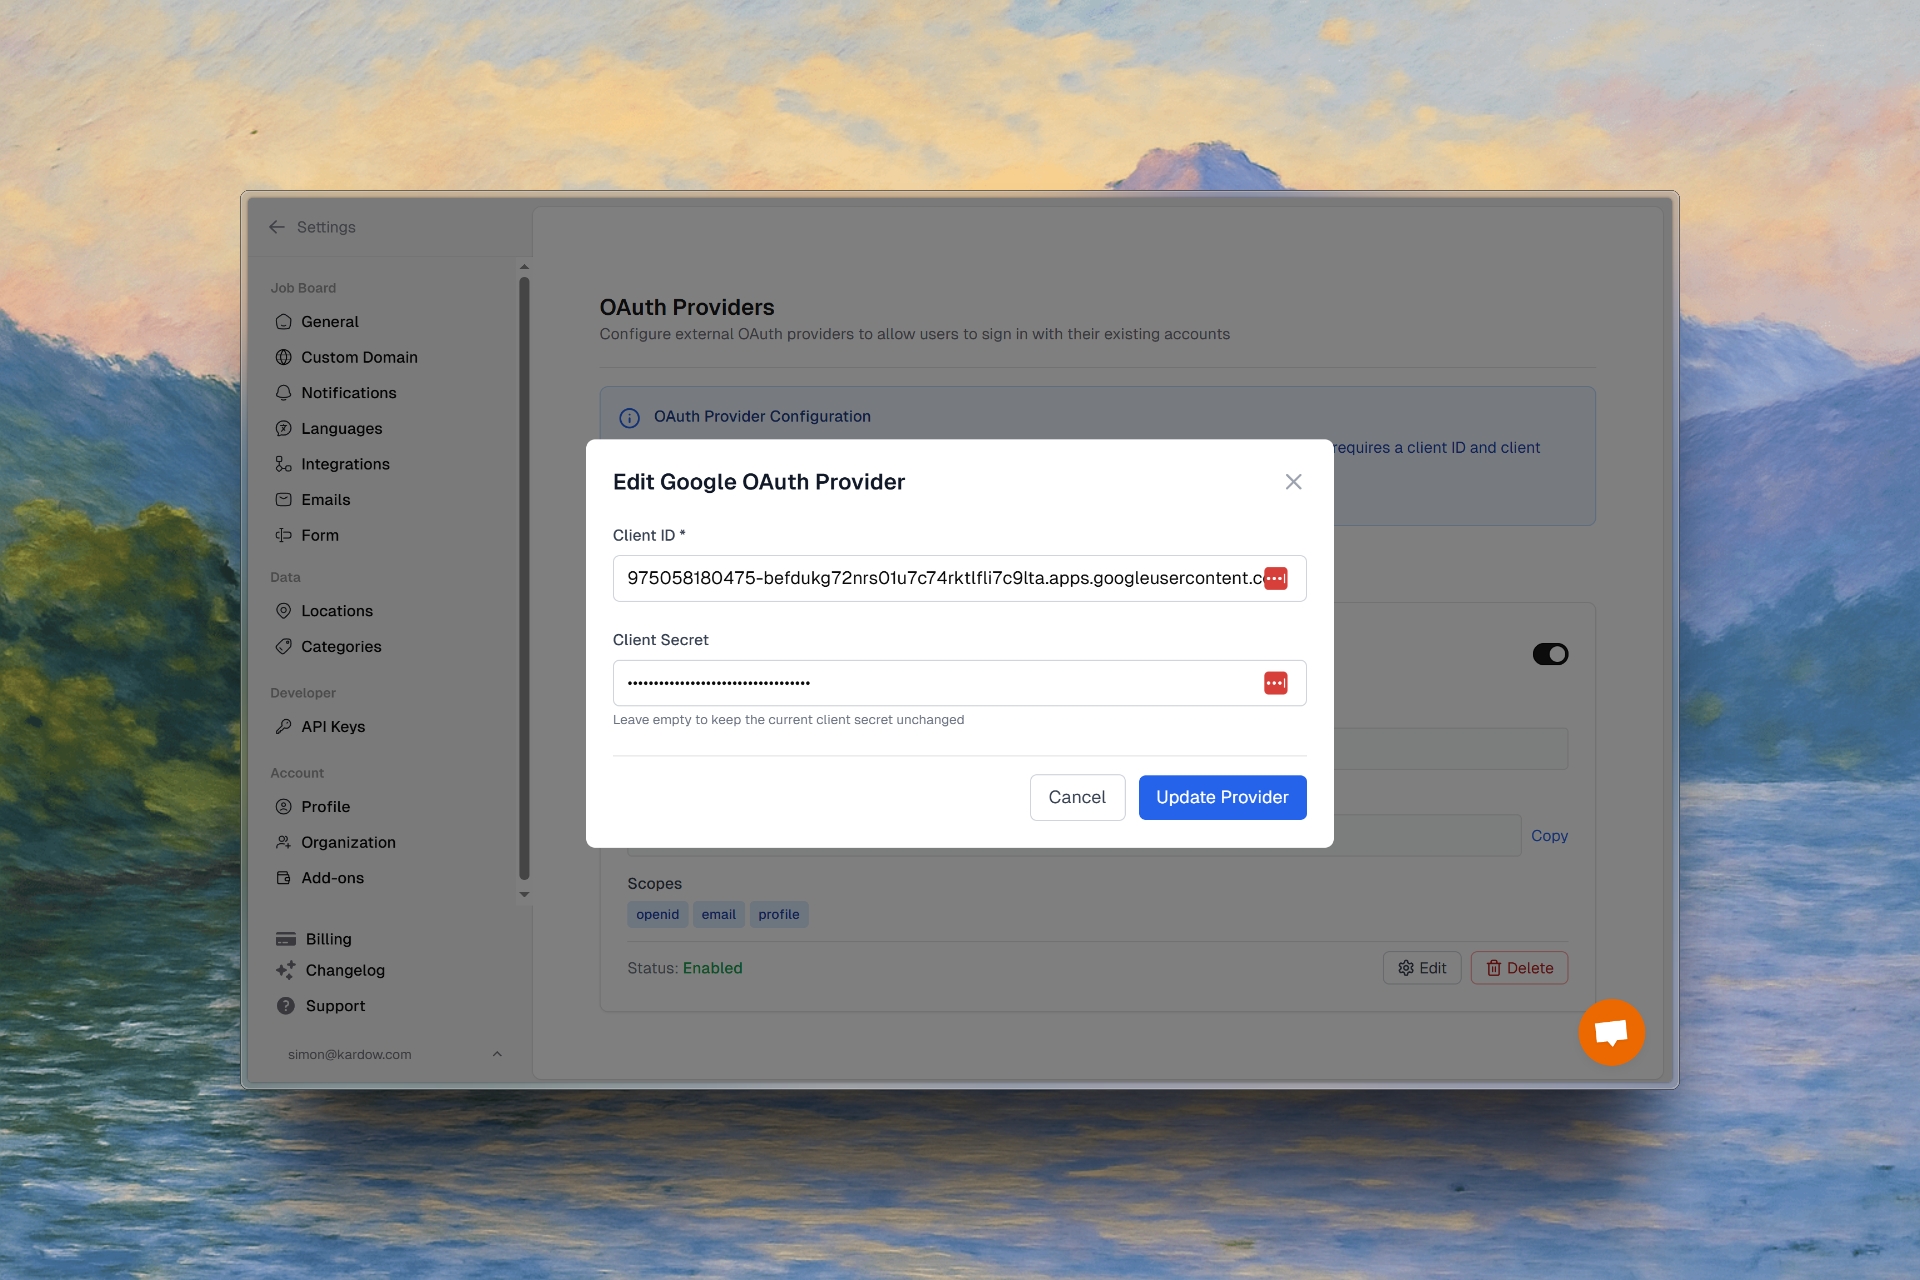
1. Access OAuth Settings
In your Kardow dashboard, navigate to Settings → OAuth.
2. Enable Google OAuth
Enter Credentials
- Paste your Client ID from Google Cloud
- Paste your Client Secret from Google Cloud
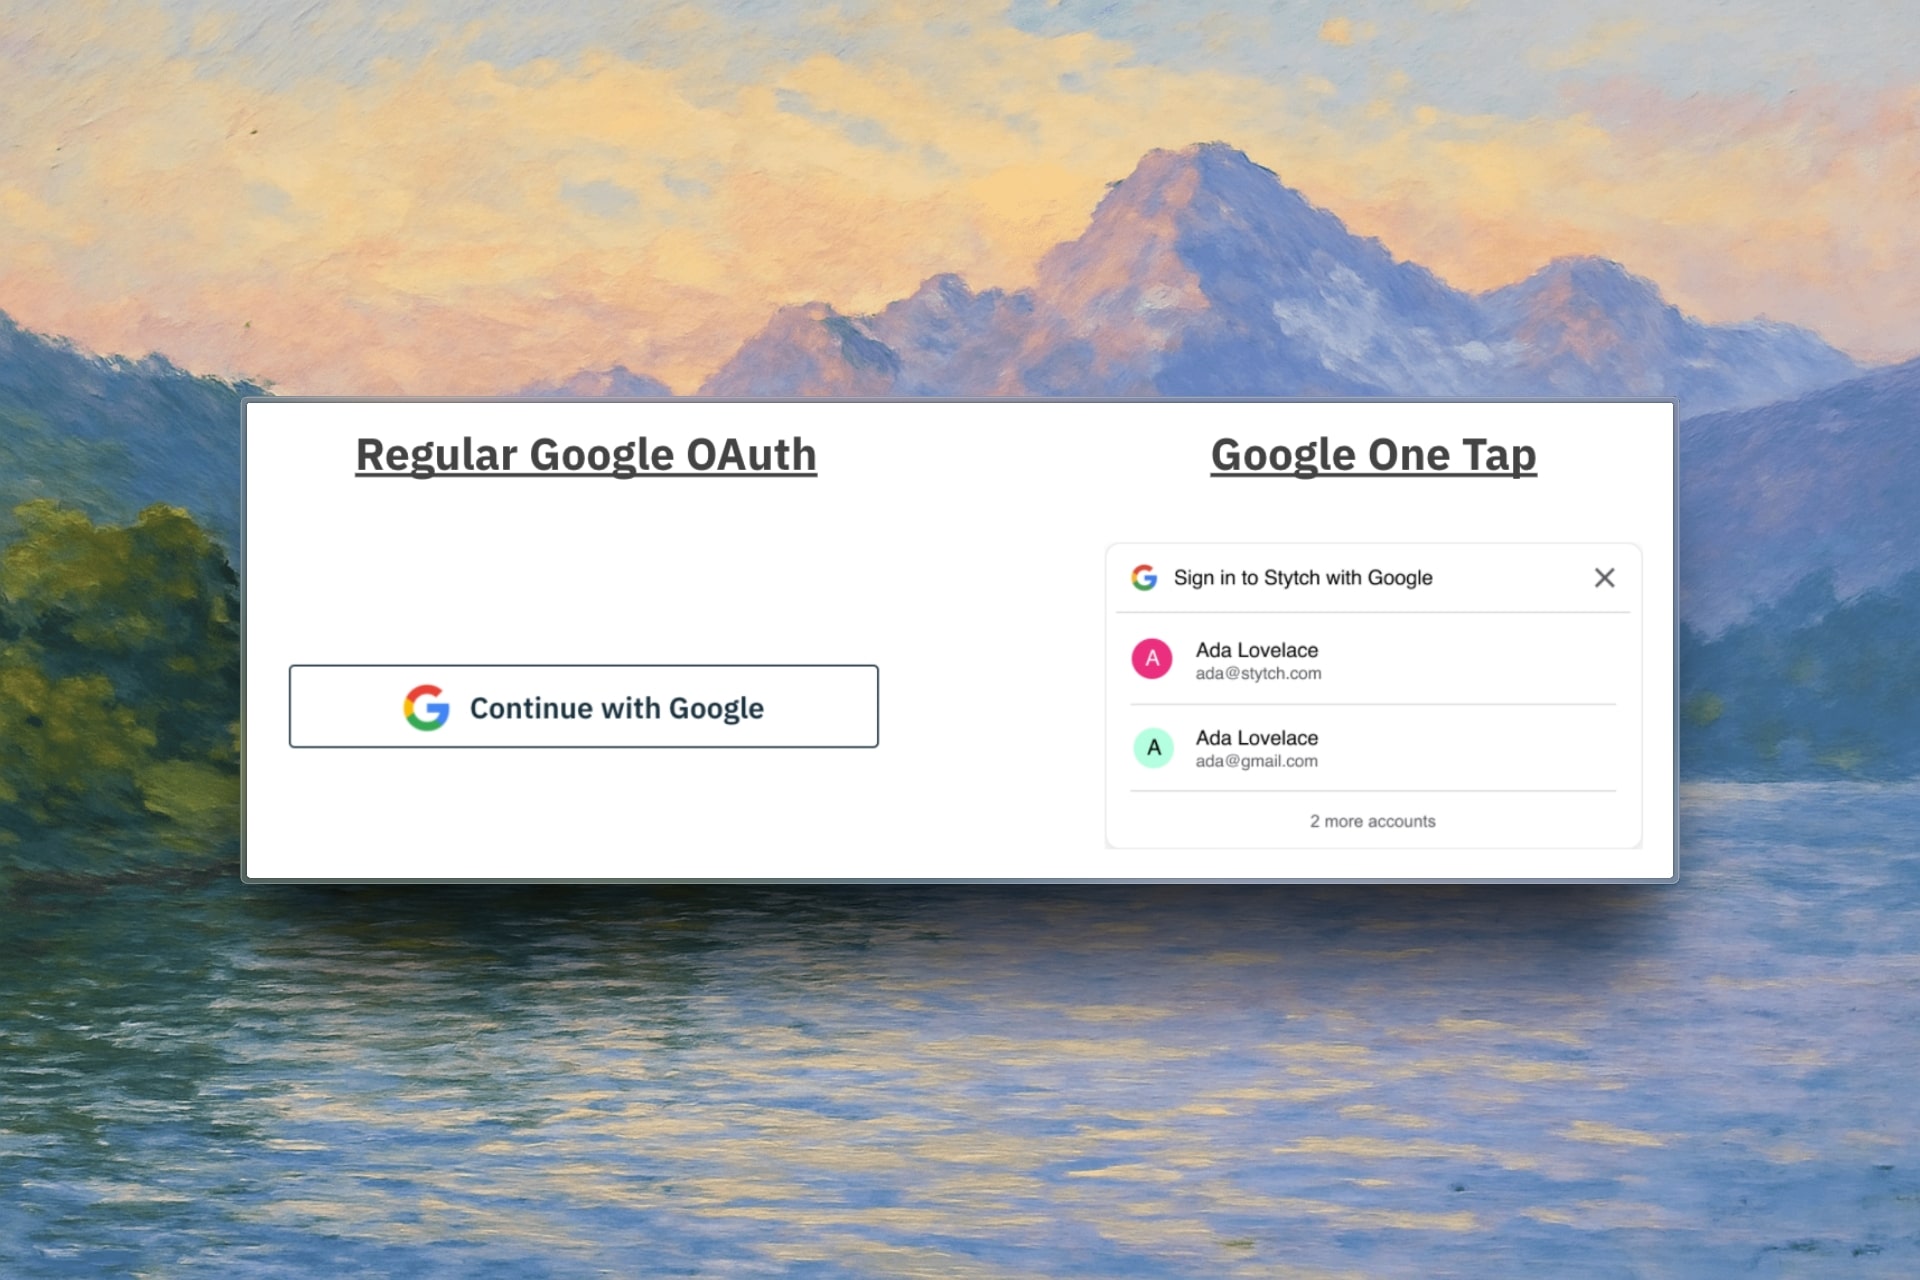
Enable Google One Tap (Optional)
Google One Tap provides a seamless sign-in experience with a popup instead of redirecting users to Google’s login page.One Tap works alongside regular Google OAuth and doesn’t require additional Google Cloud configuration.
Configure One Tap in Kardow
Test Your Setup
Troubleshooting
Common Issues
Redirect URI Mismatch- Ensure your redirect URI in Google Cloud exactly matches:
https://yourdomain.com/oauth/google/callback
- Complete the OAuth consent screen setup for production use
- Verify your Client ID and Client Secret are copied correctly
- Ensure there are no extra spaces or characters